
Why Professional Installation Is Recommended
A window or door is manufactured as a complete product, but its connection to the building is completed on site. That connection must support the unit, transfer operating and wind loads, accommodate movement, and maintain continuity with the wall’s air, water, and insulation layers. Correct installation is therefore part of the system’s performance, not simply the final step in placing an order.
Vetrina’s window and entrance-door installation guides explicitly require trained, qualified professionals to perform and supervise the work. Understanding why can help homeowners, contractors, and project managers choose an installer and define a clear scope of work.
The Opening Must Be Verified Against the Actual Product
An opening that appears ready for installation may still require correction.
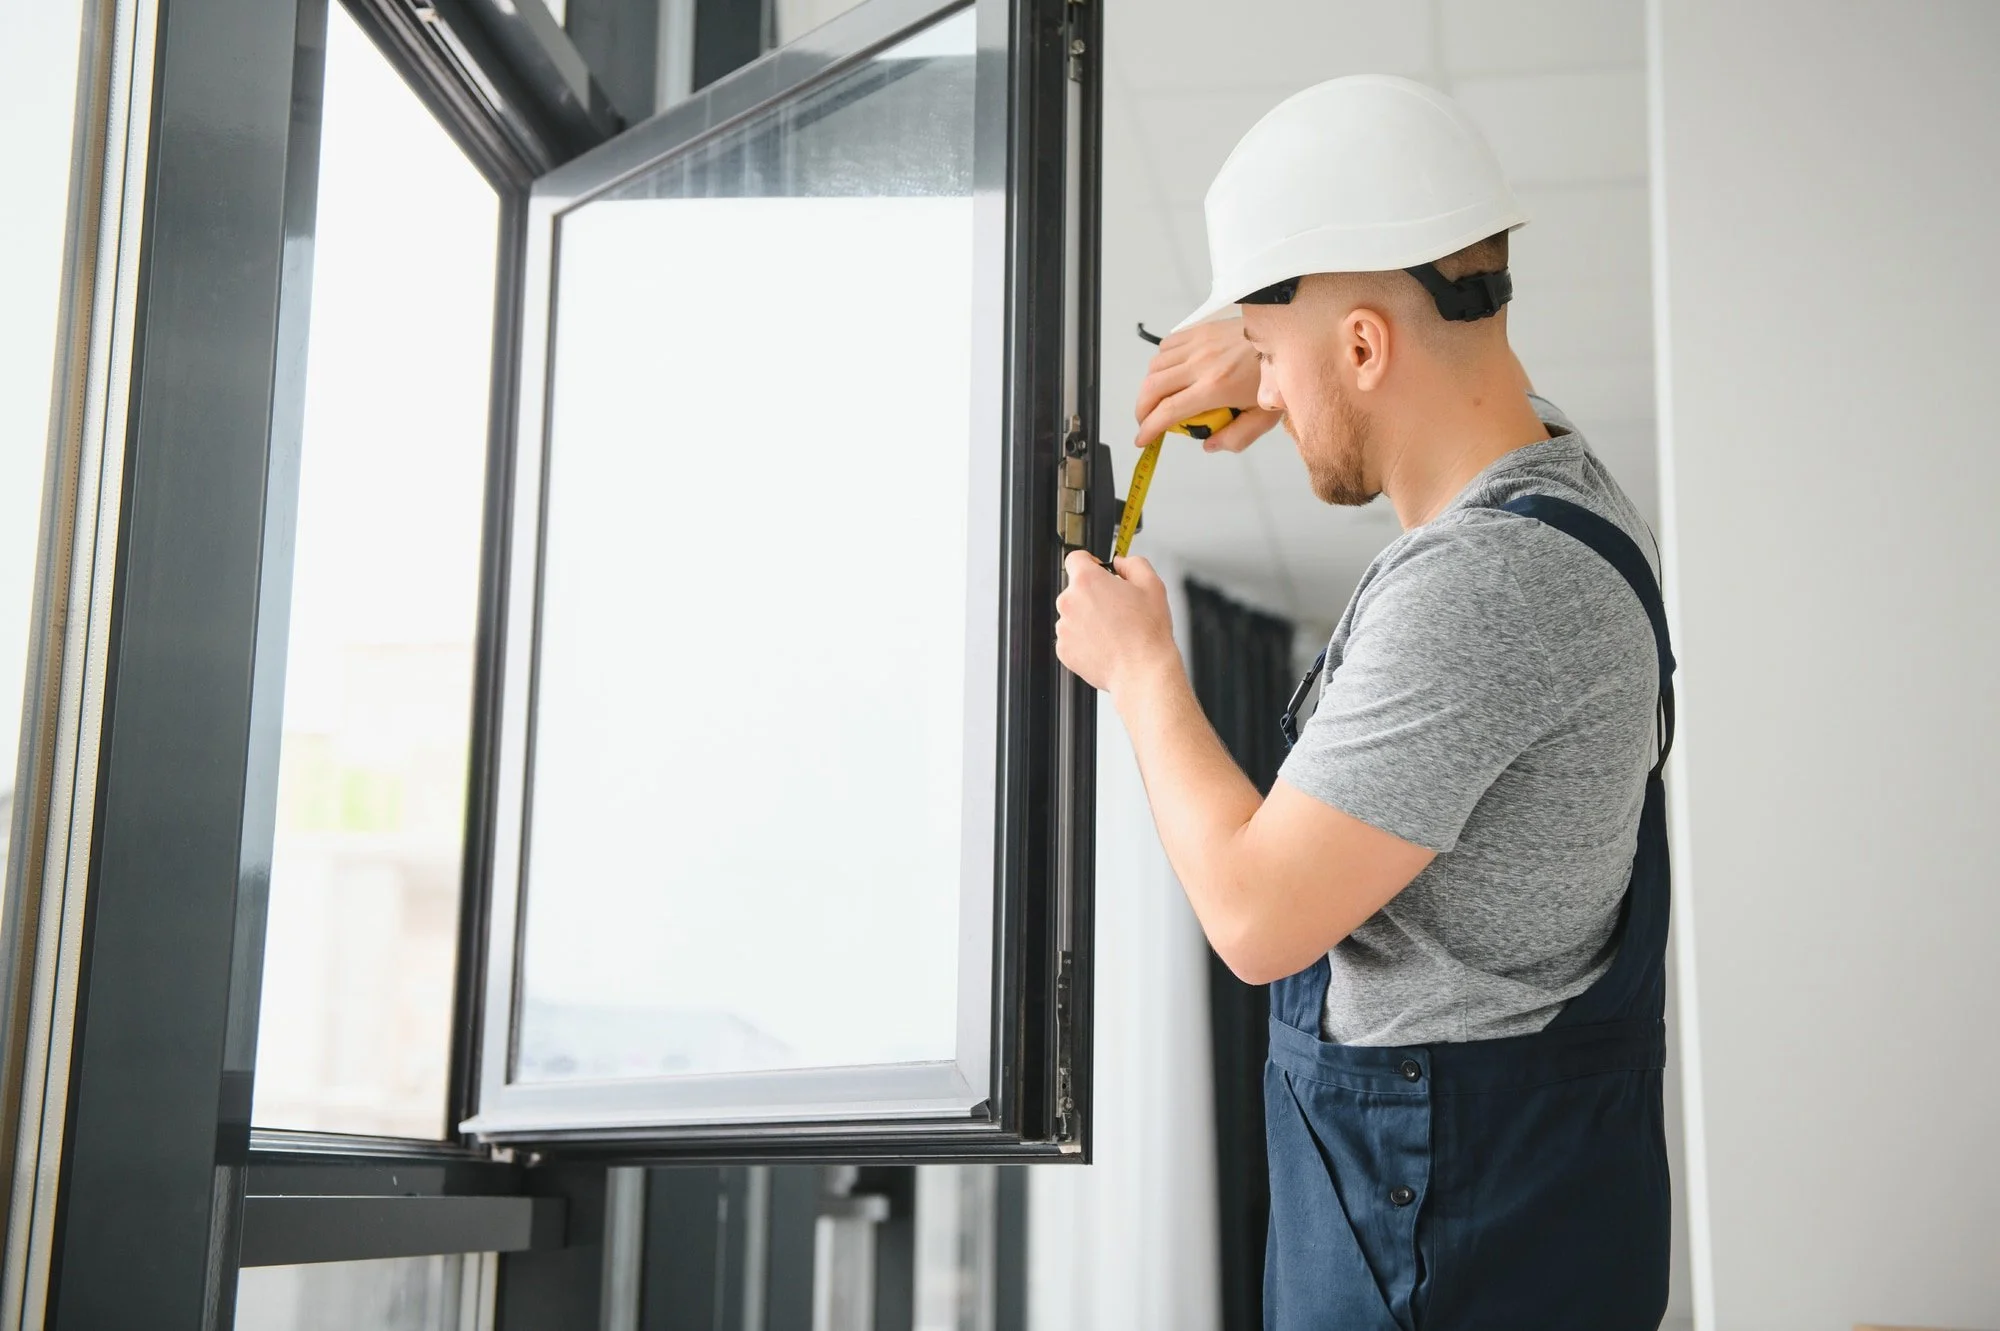
Vetrina’s window installation procedure calls for measuring the rough opening at three widths and three heights, using the smallest measurements to establish the available space, and allowing the installation clearance required by the particular system and sealing method. The opening must also be structurally sound and sufficiently plumb, level, and square. The rough-opening size and the manufactured frame size are not interchangeable dimensions.
The installer must then match the delivered unit to the approved shop drawings. This includes checking the unit identification, interior and exterior orientation, opening direction, hinge location, head and sill orientation, and drainage provisions. It’s wrong to assume that one typical connection detail applies to every opening.
Professional installation begins with this verification, before the frame is lifted into position or permanent fasteners are installed.
Handling Requires More Than Enough People to Lift the Unit
Large glazed assemblies require a handling plan based on their actual weight, dimensions, access route, and installation conditions.
Vetrina’s handling instructions call for confirming the unit weight and planning the crew size, lifting method, and equipment accordingly. Where manual handling is not sufficient, we identify equipment such as glass suction lifters, glazing manipulators, and material lifts. Handling also requires protecting frame corners, glass edges, finishes, and drainage openings.
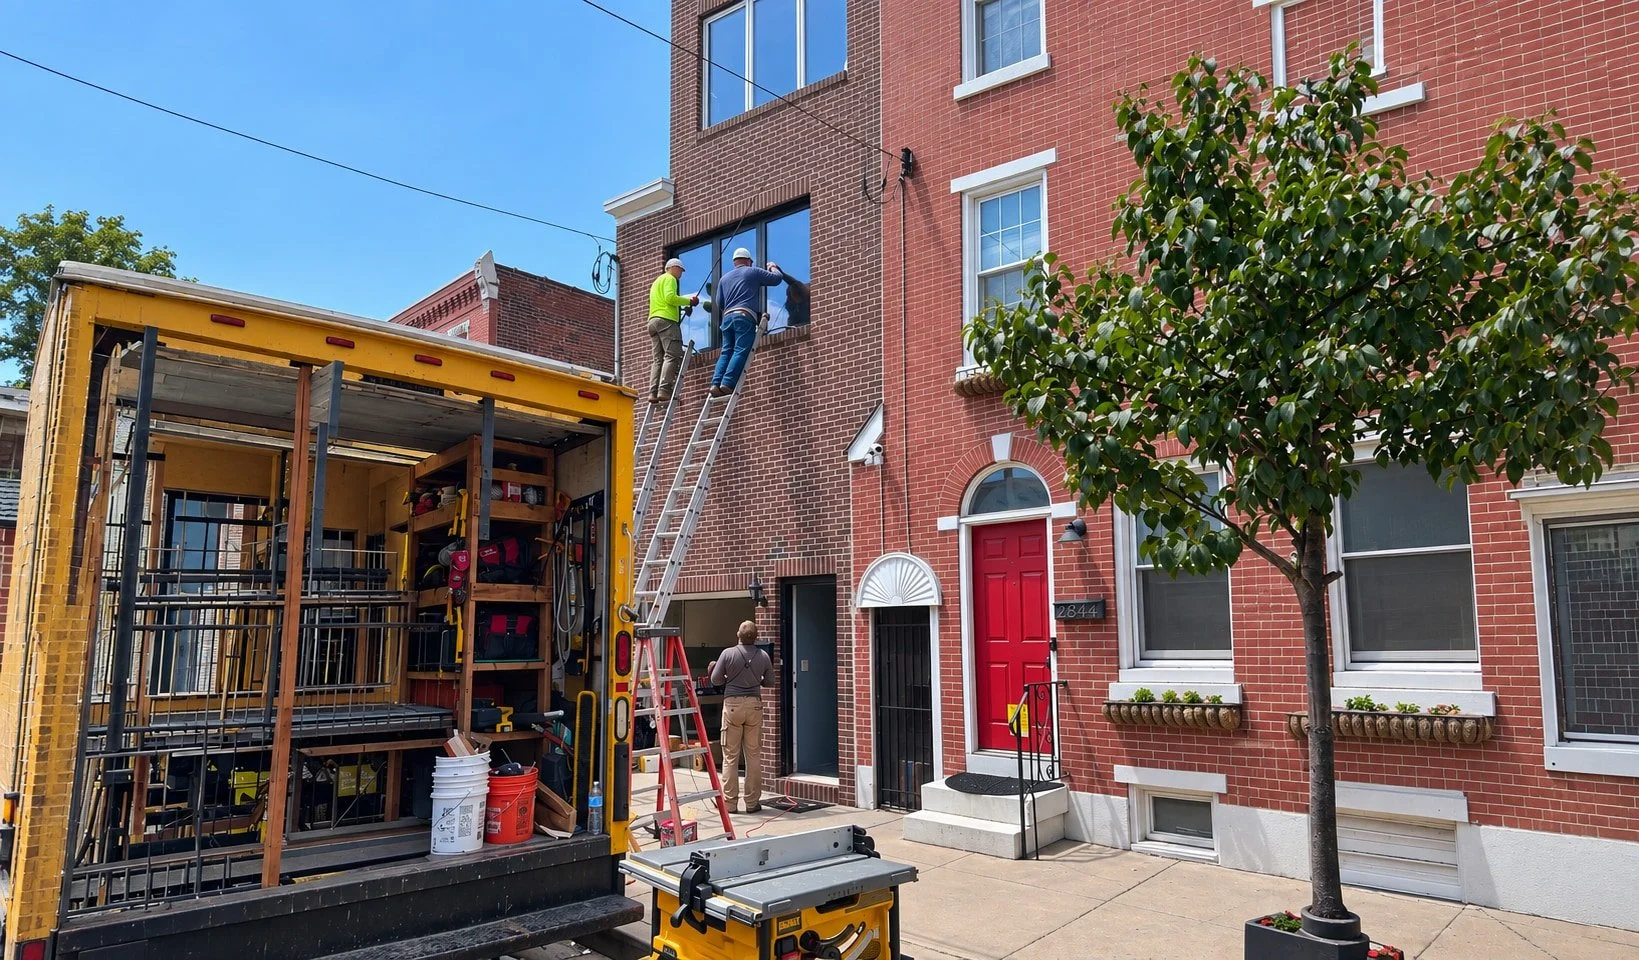
Knowing where the unit can be supported or lifted is equally important. For example, lifting windows by an operable sash, hardware, mullion, or glazing bead violates our policies and can cause damage or injury. Those components are not substitutes for the frame or designated lifting points.
The installation plan must also address staging. Units should remain upright on stable, padded supports unless the applicable instructions specifically permit another position. Safe handling is planned into the installation, not improvised once the product reaches the opening.
Support and Anchorage Perform Different Functions
A frame can look securely installed without proper support or anchorage.
Permanent load-bearing support blocks transfer the unit’s weight into the supporting construction. Mechanical anchors transfer other forces, including wind pressure and loads associated with operation, hinges, locking hardware, and closing impact. The arrangement must also accommodate anticipated movement without distorting the frame.
The correct connection depends on the unit’s size and weight, frame system, wall construction, design pressure, fastener capacity, and perimeter-joint conditions. That is why you cannot select direct frame fastening, straps, brackets, or other attachment methods based on convenience alone. Foam, sealant, flashing tape, and adhesives do not replace mechanical anchorage.
There is also an important distinction between supporting the window and using the window as support. The surrounding structure must not impose building loads on the frame, and the window must not carry masonry, cladding, or other building components. For conditions outside Vetrina’s standard installation details – project-specific structural calculations and approved anchorage details are needed. A qualified installer must recognize when the installation needs review by the responsible design professional rather than an improvised fastening solution.
Fastening Must Preserve the Frame’s Geometry
Correctly positioning the frame is only the beginning. It must remain correctly positioned as the anchors are tightened.
Vetrina’s installation procedure requires checking that the sill and head are level, the jambs are plumb, the diagonals establish squareness, and the frame is free of bowing or twisting. The specified perimeter clearance and support-block positions must also be maintained.
During fastening, noncompressible shims are used where required to prevent the frame from deflecting. Anchors are tightened progressively, with alignment checked again afterward. Fasteners must secure the frame without compressing, bowing, or twisting it.
This is one reason installation experience matters: the frame must be verified at several stages, not simply leveled once and covered with trim. Vetrina requires an operational check after anchoring and before insulation and perimeter sealing proceed.
Glazing Support Helps Maintain Panel Alignment
Where field glazing or reglazing forms part of the installation, the placement of glazing blocks is an operating detail as well as a glass-support detail.
In an operable sash, correctly positioned blocks help maintain squareness, prevent the free corner from sagging, preserve clearances, and keep locking points aligned with their keepers. The glass must not be forced or excessively preloaded during this process. Load-carrying “toe-and-heel” packers keep panels square and level, while supporting packers limit movement and provide rigidity. A knowledgeable professional must position them correctly, because adding packers anywhere may cause issues.
This work requires familiarity with the particular panel and hardware arrangement. It is not simply a matter of placing glass into the frame and reinstalling the glazing beads.
Weather Sealing Is a Coordinated Assembly
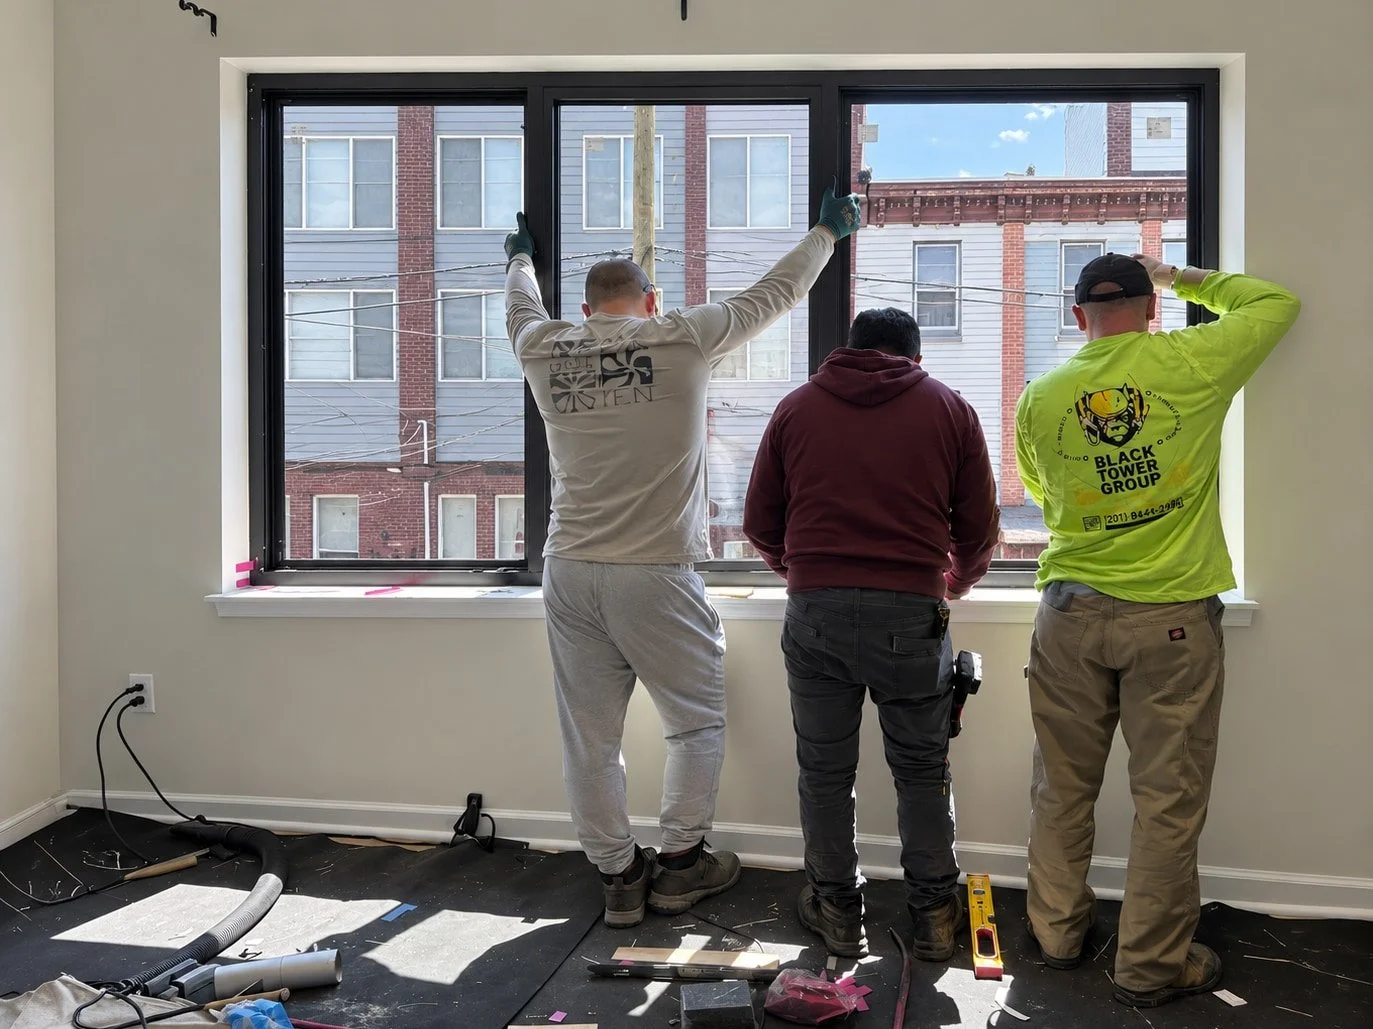
The perimeter joint between the frame and wall must do more than conceal the installation gap. There are three functional layers, each with a separate responsibility:
Interior air control. A continuous interior seal connects the frame to the building’s air-control layer, limiting uncontrolled airflow and preventing moisture-laden indoor air from entering the joint.
Thermal and acoustic insulation. The center layer reduces heat transfer and provides insulation without restricting required movement or distorting the frame.
Exterior weather control. The exterior layer protects against wind-driven rain and integrates with the building’s flashing and water-resistive barrier, while preserving required drainage and drying paths.
The materials must work together. Sealants, tapes, membranes, primers, frame finishes, and adjoining surfaces need to be compatible. Bond widths, overlaps, joint geometry, surface preparation, and movement capacity must follow the applicable details and material instructions. Drainage and weep openings must remain unobstructed.
Even the insulation requires care. Our insulation guidance specifies low-expansion window-and-door foam where foam is used and warns that general-purpose high-expansion foam or excessive filling can distort the frame.
A professional installer must understand the complete joint, not just how to apply an exterior bead of sealant.
Hardware Adjustment Comes After Installation Accuracy
Final adjustment is expected to refine operation. It is not intended to compensate for an incorrectly installed frame.
Any hardware adjustment should not be used to correct a frame that is out of plumb, level, square, or plane. Likewise, repeated resealing is not an appropriate response to a joint failure until the underlying cause has been identified.
For example, a dragging sash may involve frame distortion, sash alignment, excessive locking compression, or incorrect glazing-block placement. The correct sequence is to verify frame geometry and glazing support before adjusting hardware.
This is where product-specific experience matters most. The installer needs to distinguish between a condition that can be corrected through an approved adjustment and one that requires reopening part of the installation.
Completion Includes Testing and Handover
An installation is not complete simply because the frame is anchored and the surrounding finishes are in place.
Vetrina’s final checklist calls for verifying the full operating range, sash alignment, gasket compression, locking engagement, handle operation, and drainage. Frames, glass, gaskets, hardware, and finishes must also be inspected for installation-related damage.
The handover should include a demonstration of the applicable opening, closing, and locking sequence. The installer should provide the user with operating, adjustment, maintenance, and care instructions after installation is complete.
Operating, maintenance, warranty, and project documentation should accompany the completed work, and incomplete or nonconforming conditions must be addressed or recorded in writing as required by the closeout procedure.
That documentation establishes what was inspected and gives the owner a useful reference for subsequent maintenance or service.
What to Discuss With Your Installer
Use the responsibilities above to evaluate the proposed installation scope. Before work begins, ask:
Who will verify the openings and approved drawings? Confirm responsibility for field measurements, unit identification, orientation, and installation clearances.
How will the units be handled and supported? Establish the unloading, staging, lifting, and permanent support arrangements.
Which anchorage and sealing details will be followed? Confirm that they address the actual wall construction and that nonstandard conditions will receive the required review.
What is included in final testing and handover? Identify who will complete hardware adjustments, demonstrate operation, and document outstanding items.

These questions translate the installation guides into practical scope-of-work checks. Relevant experience includes the ability to carry out the required work for your particular system, including any field glazing, specialized handling, and connection details.
Planning Your Installation With Vetrina
Vetrina manufactures and supplies the window and door systems but does not provide installation directly. Depending on the project and location, we may be able to refer you to an independent installer familiar with our products.
Involve your installer during project planning so they can review the approved drawings and product instructions against the actual openings and surrounding construction. Resolve questions about support, anchorage, glazing, or perimeter detailing before installation proceeds.
The objective is not merely a window or door that fits. It is a correctly supported, securely anchored, properly sealed system whose operation has been checked and documented.